Article category: Mining
Get to Know Marigold (Part 5): Marigold Workflows & Derived...
In this blog, we will walk through how to create a series of standard multispectral derived...
Welcome to Marigold! This is part 3 of our Get to Know Marigold blog series with helpful videos. Previous blog series can be found here. Part 1: Functionality and Processing Tools | Part 2: Introduction to the Bare Earth Composites
In the following video snippets, we will walk through how to create and deploy vegetation and water masks using the Descartes Labs’ Marigold software built-in capabilities.
Masking is a crucial stage of your remote sensing processing workflow. Identifying and removing surface cover types that are not relevant to you from your data will help to improve lithological discrimination, identify areas of outcrop, and most importantly: remove potential false positives from the data.
Data you may want to mask includes areas with:
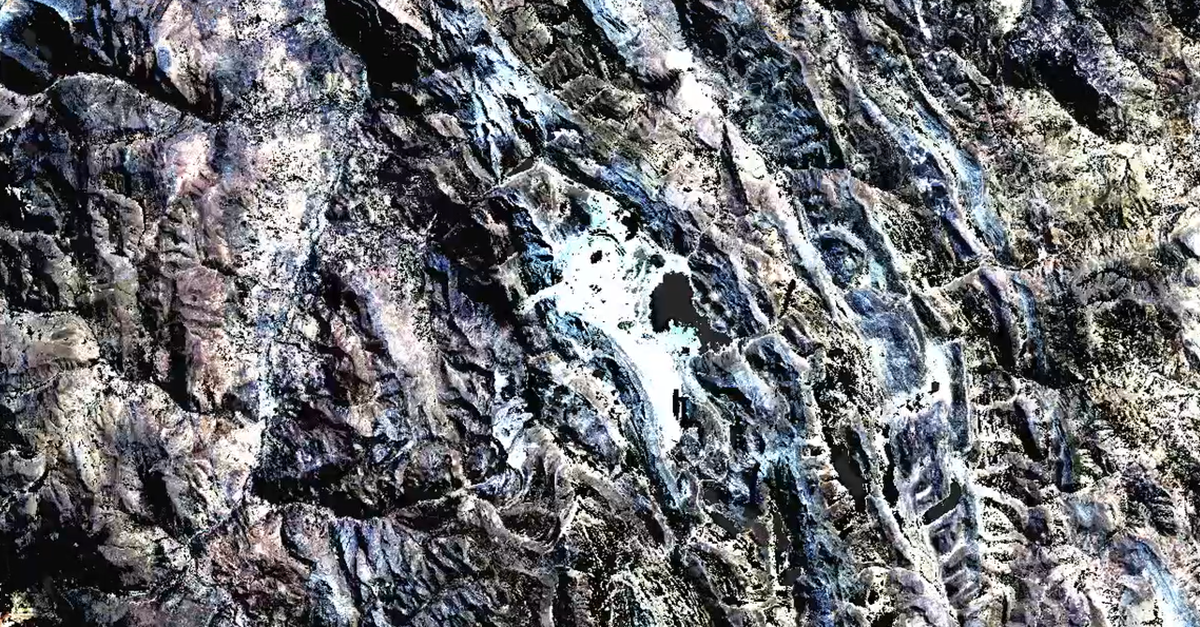
For masking vegetation, you’ll first need to identify vegetated areas by using a False Color Composite. To create this in Marigold:
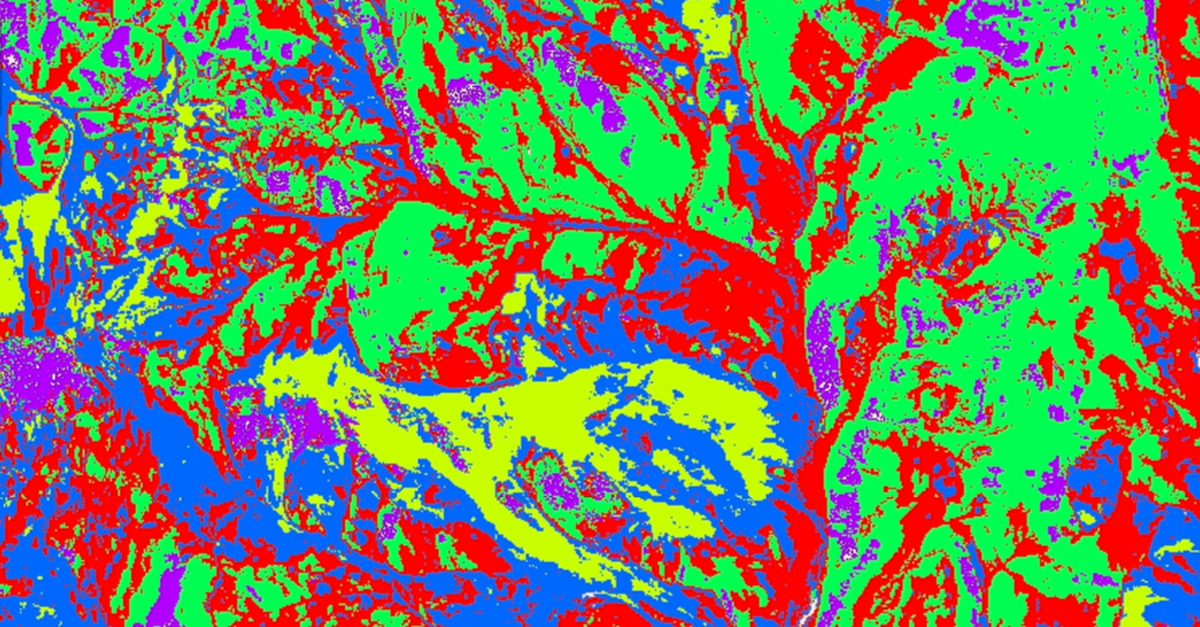
To begin masking this vegetation, open the Masking section of your Processing Toolbox and select the Vegetation mask option. Here you can generate your mask using pre-computed indices: MTCI, NDVI and VH radar response. Please read the description for each index before applying masks.
Tip: The VH Radar Response option is primarily used in areas with dry vegetation.
Use the slider tools to adjust the extent of your vegetation mask based on the False Color Composite’s red pixels. Once you are happy with your mask, provide a name for your layer and click Calculate Vegetation Mask.
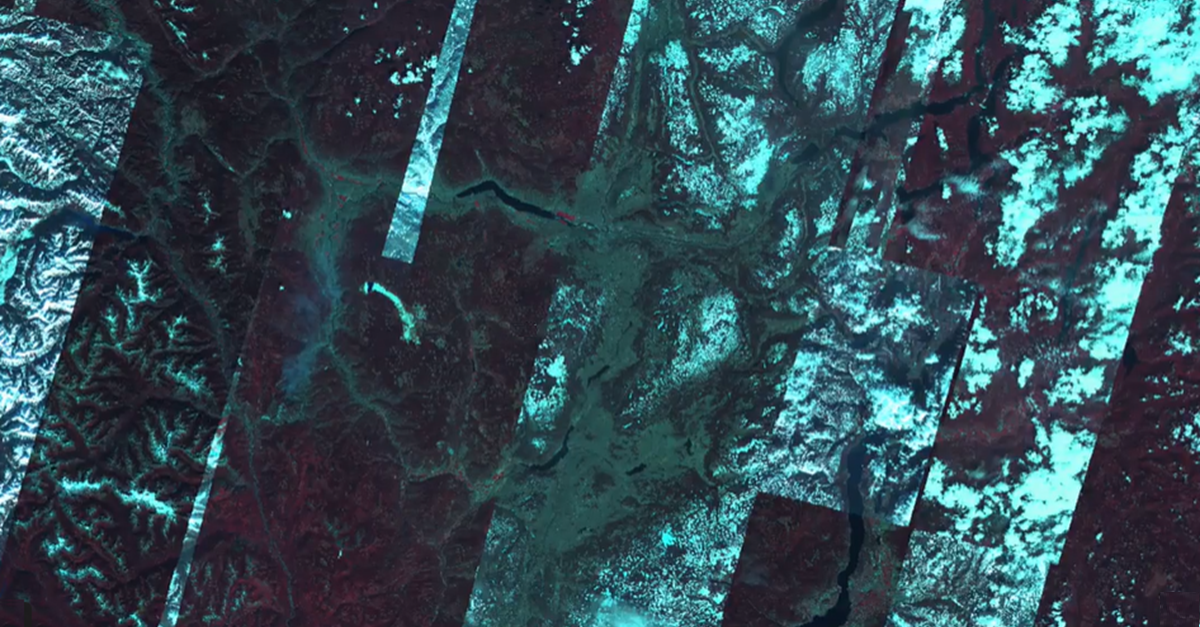
To create a water mask, select the Water mask tool from the Masking drop down in the Processing Toolbox. This will open a similar dialog to the vegetation masking tool using a water occurrence threshold. Adjust the slider to match the extent of water seen in your imagery. Finally, provide a name and select Calculate water mask.
To apply a mask you create to a dataset of your choice, select the Apply Mask tool in your Processing Toolbox, and then choose the dataset you wish to mask, in this case the Sentinel-2 Bare Earth Composite.
Tip: You can also draw or upload Vector data to use as your mask.
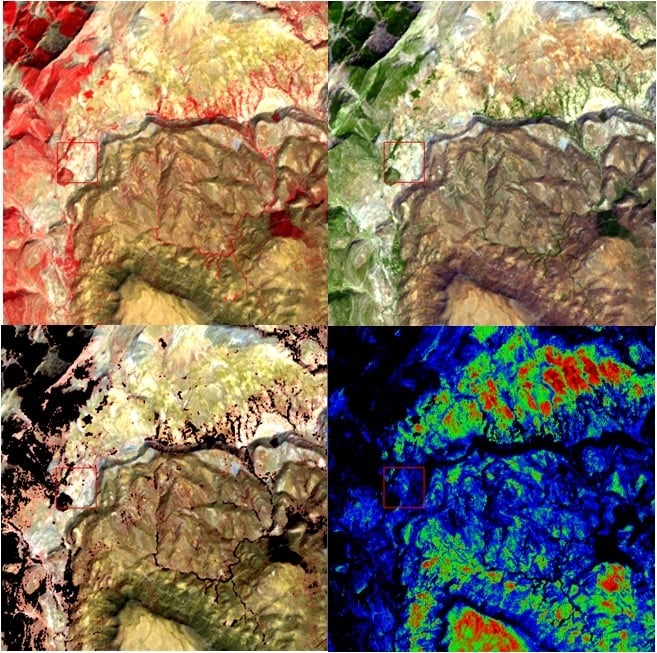
Next, select the mask you wish to apply to that data, provide the output with a name, and then select Mask Layer. By turning off other layers and changing our basemap, you will now see where your data has been masked, in this example removing the vegetation from the imagery.
If you want to apply more than one mask at the same time, select the Batch Masking tool in the Processing toolbox. Choose the desired masks and then select the dataset for mask application. At the bottom, type the suffix that you want appended to the existing layer name. Then, click Mask Layers. In this example, both vegetated and water areas are masked from the imagery.
![]() In the next Get to Know Marigold blog series, you will learn how to mask more complex surface cover types, like shadow, to help prepare your data further. Once you have masked your data, you can use Marigold’s processing tools to identify lithologies, alteration and mineralization with even greater confidence.
In the next Get to Know Marigold blog series, you will learn how to mask more complex surface cover types, like shadow, to help prepare your data further. Once you have masked your data, you can use Marigold’s processing tools to identify lithologies, alteration and mineralization with even greater confidence.